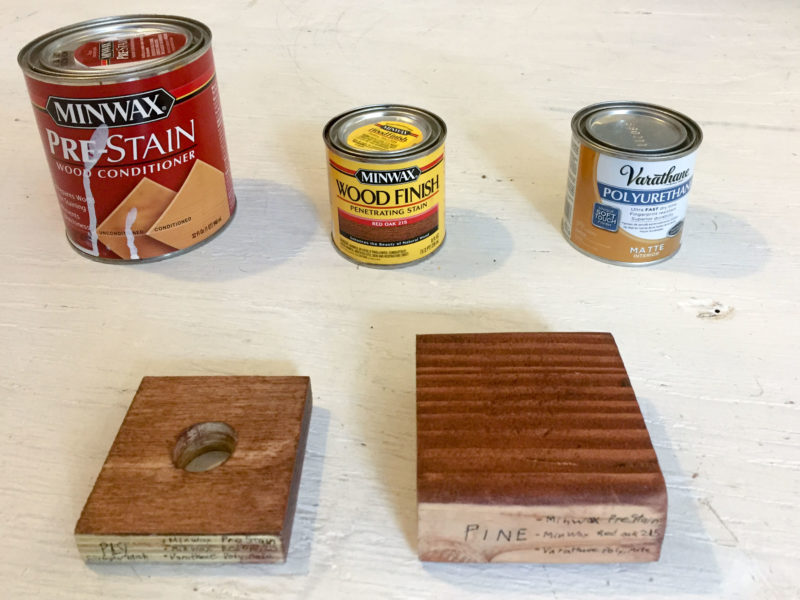
I've got some wood working projects coming down the pipeline, which I always enjoy until it comes to the final part: sanding, staining, and sealing. These steps turns raw wood into a "finished" piece of furniture in every sense of the word.Although the finishing process can bring a full transformation of "professional" look to projects, it is generally one my least favorite steps. It usually involves applying several coats spread throughout multiple days, so it tends to feel much slower than the cutting or assembly phases. There's also an enormous range of products which can be used in different combinations with different types of wood. It's really hard to plan for what you're going to get.
To remove as much pain from the process in my upcoming projects, I've decided to start a collection of various stains/sealers so I can reference a physical example of the final results. I wanted to test specific combinations of products and woods to know what to expect, and would just hang on to every variation I tried. To get the most out of every sample, I came up with a way to show as many possible combinations of each product per piece (including the effects on end grain vs face.

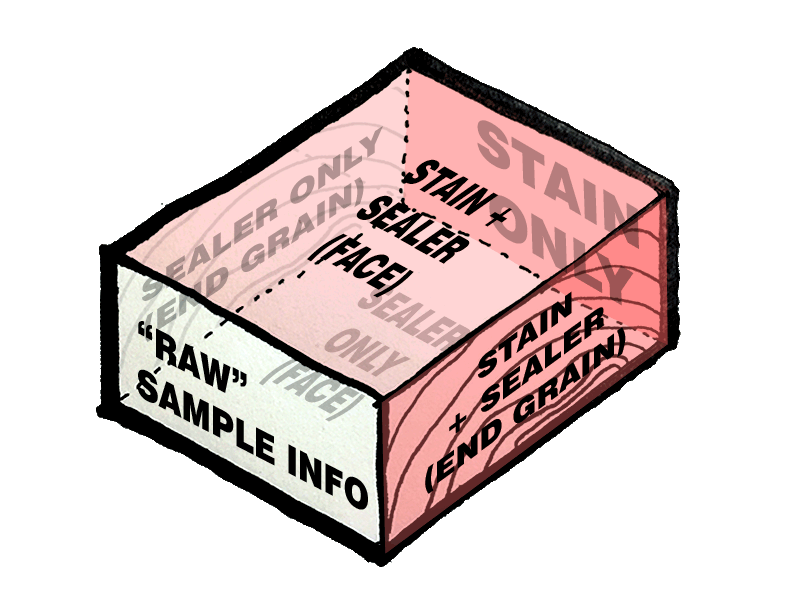
I decided the easiest size to recreate in the future would be a square cut off of a 2x4 (3.5"x3.5"x1.5") After hitting each face with a random orbital sander, I left one face "raw" then painted the others with pre-stain, then applied the stain. I only stained 3 of the faces, one of which was end grain. After a day of letting that dry out a bit, I painted on the first coat of sealer. I applied the sealer in a "band" around the block so that it would seal both stained-face, stained-end, unstained-face, and unstained-end. This band also left one of the stain-faces completely unsealed. I used the untouched "raw" face to write down the product info. I'd love to come up with a better way to label, but for now I'm just writing on the sample directly. Here's a diagram that shows all the faces. The red shows where stain was applied.
