All images and designs are copyrighted and not for use.
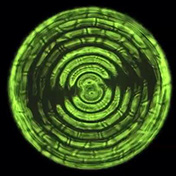
 After experimenting with generating a digital model from photographic input, I learned that my client was more interested in a representation of Cymatic patterns than generating a literal translation of her images. Knowing this resolved issues I was previously having with pixelation and jagged ridges, or so I thought...
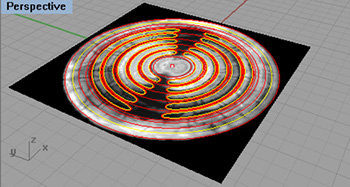
 By tracing the graphics of the image (and taking a few liberties with it's geometries) I end up with MUCH simpler forms to generate the model: Circle-like shapes simply became Circles. Initially, I was going to do this as a contour map (like I had previously tried with the Live Trace experiment,) but the image my client had requested I work with didn't actually have enough gradation between highlight and low, so I stuck to only outlines.
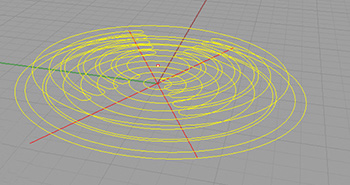
 Once I had the basic shapes traced as closed poly-lines. I elevated the highlight regions vertically. Again, since there wasn't much variation in tone, I decided to elevate the highlights to the same height rather than trying to gauge height based on brightness of the region. This created 2 levels only. A highlight and a low light region.
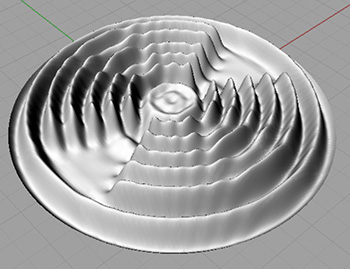
 Once those outlines were drawn and elevated, selecting all the lines and running a "Patch" command would generate a model. When I ran the command, it did generate the model, and it was much smoother than the previous height field versions, but it's still got some weirdly spiky regions forming. I experimented with incredibly simple lines, and still encountered that irregularity. I think there's something in how the "Patch" tool functions that is causing this. Maybe I can find another approach.
i would like a tutorial step by step about how you made it in grasshopper.
Believe it or not, I didn’t actually use grasshopper! That would have been smart though.
I explain in the post that this is just a series of closed curves which I manually placed at specific heights, then ran the “patch” command.